
In our quest to "de-brown" our new home, these very unfortunate closet doors were standing in our way.

yikes
our 1968 tudor hasn't been updated in quite some time and is quite groovy. bryan's temporary office is currently wood paneling and all his coworkers refer to him as 'mr. brady'.
we've done so much work already: the floor in that photo used to be old gross carpet, which thankfully had beautiful hardwood underneath ready to be refinished. the foyer is no longer dark, the trim is no longer also brown. basically, it's a beautiful layout and solidly built, but needs a lot of help. the toilet right down the hall from this is powder blue. insert cringe face here.
when browsing for home renovation inspiration, i came across a blog by jess over at brightgreendoor.com with shiplap style doors that i was interested in trying myself. i did things a little differently and it was kind of a pain in the ass, but the finished product turned out great. here's how i did it.

First, remove these guys and the knobs. KEEP THE BACK HINGES ON FOR NOW.

these were 2.5" x 11/16" x 96" casing mdf from home depot. i cut each of them at a 45 and nailed them into place with my brad nailer.

Use clamps to help you hold everything into place as you nail!

once the trim was set, i ripped pieces of masonite and slipped them into these grooves to help give a little more stability. knowing what I know now, do this step before nailing the trim up to make your life easier!
after this, measure and cut your shiplap pieces to fit in the space. if your doors are anything like mine these widths will vary, but not by much. i cut mine so that they had a very small gap. i tried to keep it as consistent as possible all the way through.

Thankfully, mine came right to the bottom! I had to rip the smallest amount of the groove off of the last piece, but it turned out looking great!

Once the front of the door is finished, flip it over and take the hinges off. Wood glue and more nails to hold it into place!
this was the hard part. adding this much depth to the front of the door meant they weren't going to fit in the place of the original bifold. after much discussion (and several days of putting it aside and not thinking about it), we came up with a plan.
we decided it was best to take down the existing track out of the ceiling to help us create our own system. We unscrewed the metal bracket from the wood piece on the floor and moved it back until we were satisfied. Then, we cut a small piece of wood, nailed it into the ceiling, and drilled a .25" hold in the middle of it. push the top corner peg down and line it up with the hole you've just drilled, and you've got a hanging door!


pretty okay! the tops were uneven and they didn't close together at first, so we did a few things to help this:
-adjusted the bottom bracket
-changed the height of the bottom peg
-sanded the top of the door just a touch
even after all this, they still didn't close (too much overlap). so, we used our kreg ripcut to take the smallest amount off the inside edges. sanded it, and it turned out pretty good.
next was filling the tiny nail holes, sanding, and painting!

The color is Kendall Charcoal by Benjamin Moore. If you can see the darker color, it's Iron Ore by Sherwin Williams. This had WAY too much of a blue undertone to it (our walls are Alabaster), so we went with something a little more neutral!

Install another wood piece with a double magnet catch so they don't swing too far!

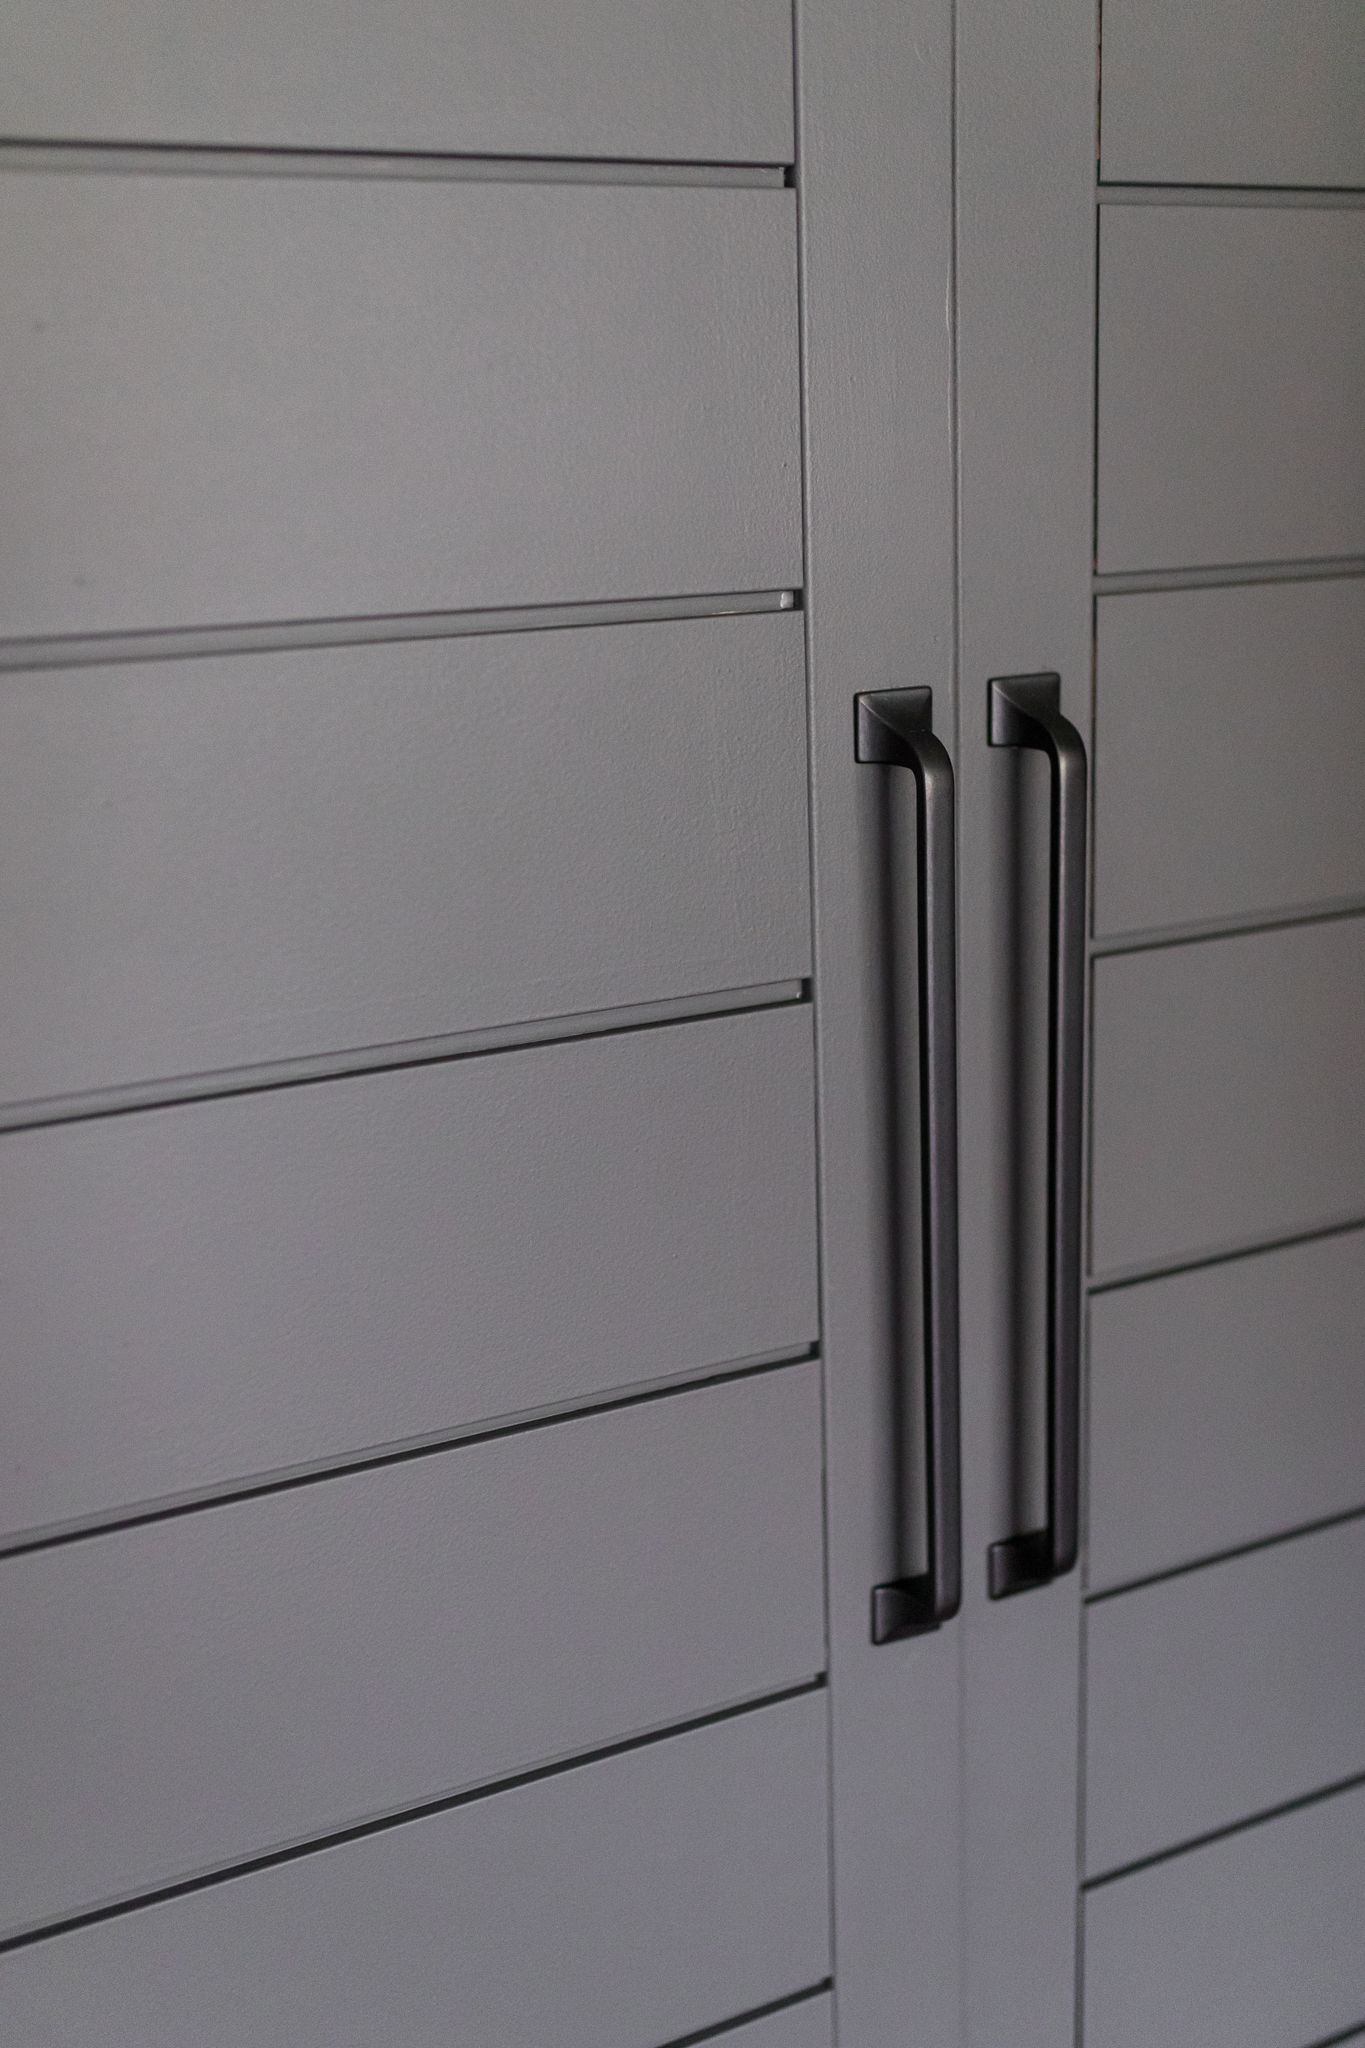
Pick out your hardware! These are in the same style as our wrought iron staircase railing.

Mark your spot and drill a hole through the door, keeping in mind that masonite and MDF don't always drill cleanly. I had to sand these spots after I was finished.
finally, after all the headache, they're done!


